How to Install Shoplinks on Blogger
Why Use Shoplinks?
Shoplinks is a powerful monetization tool for bloggers. Once installed, it automatically converts relevant keywords in your posts into Involve Asia affiliate links, allowing you to earn commissions effortlessly.
Follow this step-by-step guide to set up Shoplinks on your Blogger site.
How to Install Shoplinks on Blogger
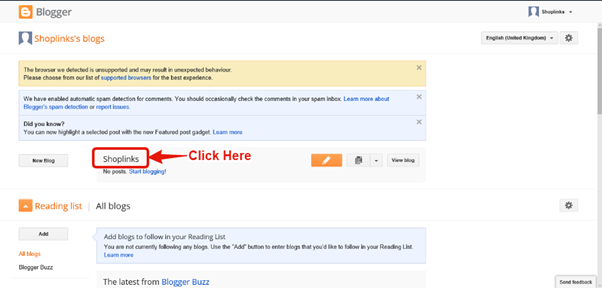
Step 1: Access Your Blogger Dashboard
Login to your Blogger account > Homepage > Click on the blog name (e.g., Shoplinks).
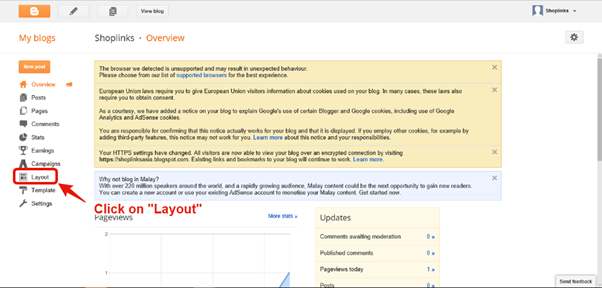
Step 2: Go to Layout
You will be directed to the Overview page.
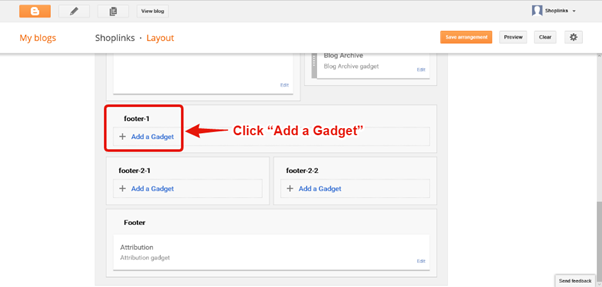
Step 3: Add Gadget
Scroll down to find Footer-1 or Header > Click Add a Gadget.
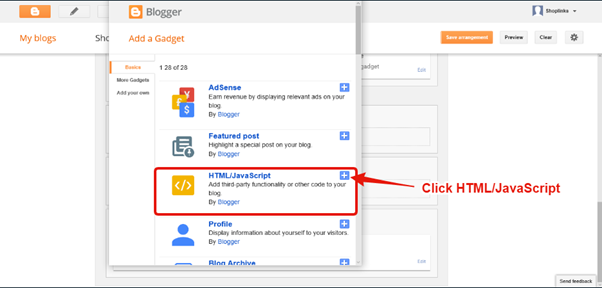
Step 4: Choose HTML/Javascript
From the pop-up menu of gadgets, select HTML/Javascript.
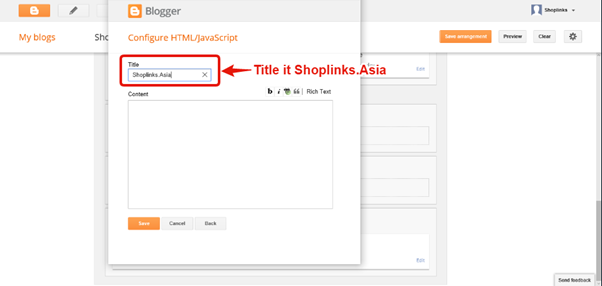
Step 5: Configure HTML/Javascript
In the configuration page, give it a title (e.g., Shoplinks.Asia).
Step 6: Get Shoplinks Script
Open a new tab and login to your Involve Asia Publisher Dashboard.
Go to Tools > Shoplinks > Enter your website URL > Click Copy to copy the Shoplinks script.
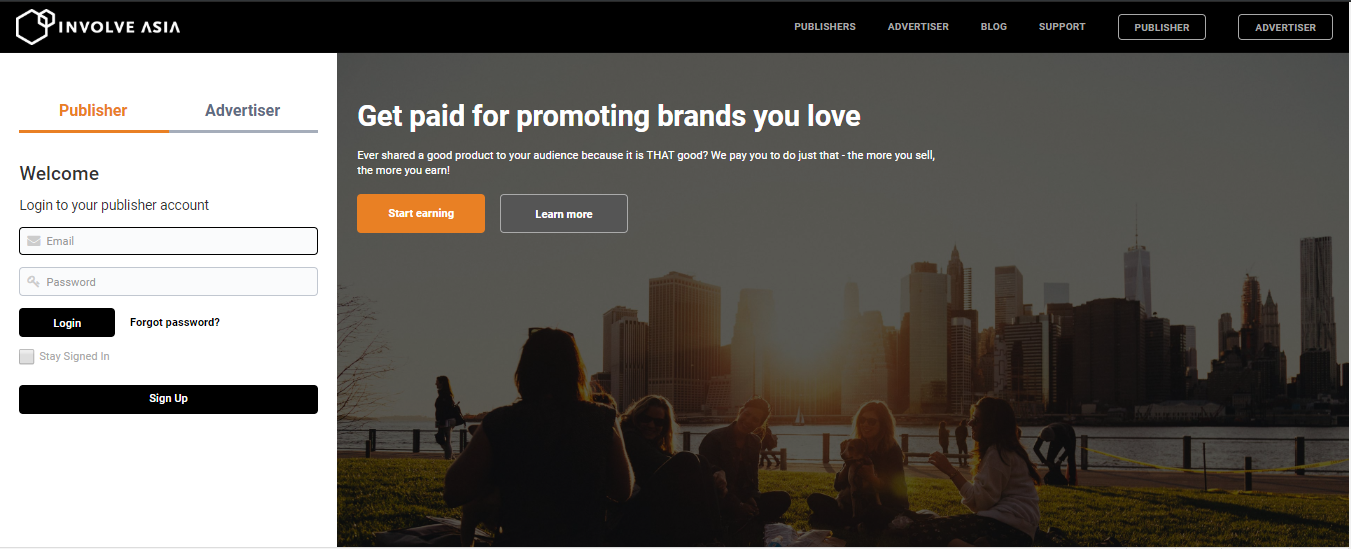
Illustration purposes only
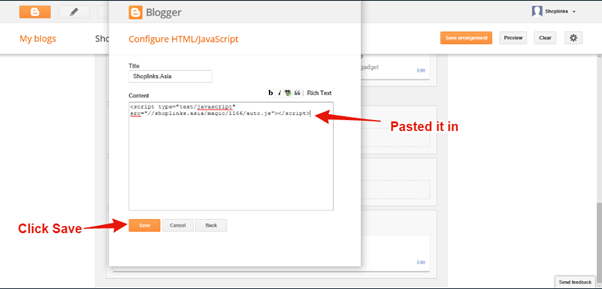
Step 7: Insert Script into Blogger
Go back to Blogger > Paste the script in the Content box > Click Save.
Step 8: Verify Installation
Return to your Involve Asia dashboard > Click Check to verify status.
Illustration purposes only
How Shoplinks Works on Blogger
After Shoplinks is installed, create a new post.
Write your content > Highlight the text you want to convert > Click Link.
Illustration purposes only
Illustration purposes only
Illustration purposes only
Notes for Cloudflare Users
If you are using Cloudflare, the verification tool may not display correctly. You must test manually as per Step 8.
For Cloudflare sites with Rocket Loader enabled, you’ll need to adjust your script. You may explore our other articles on Shoplinks for more guidance.
With Shoplinks successfully installed on Blogger, your content will automatically generate affiliate tracking links—helping you monetize without extra effort.
Related Articles
What is Shoplink & How to Install It On Your Website
Shoplink is an Involve Asia tool designed to help you monetize your content effortlessly. It works by automatically converting keywords from offers into affiliate links, saving you the hassle of generating them manually. This allows you to scale your ...How to Install Shoplinks on WordPress
Why Use Shoplinks? Shoplinks is the easiest tool to monetize your blog or content website. Once installed, it automatically converts keywords into affiliate links related to Involve Asia’s advertisers—helping you earn without manually creating links. ...How to Make Shoplinks Work with Cloudflare
What is Shoplinks? Shoplinks is a simple tool by Involve Asia that automatically converts all relevant links and keywords into affiliate links. This allows you to monetize your content easily without generating affiliate links manually. What is ...